
Graphic Design Tutorial

- Level: Intermediate
- Stock Image: NYC Stock by SocioBunneh
- Brush: Z-DESIGN Tech Brushes Set v5, Cloud Brushes
- Font Style: Half Project Logo
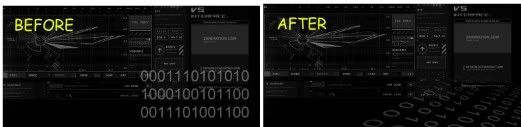
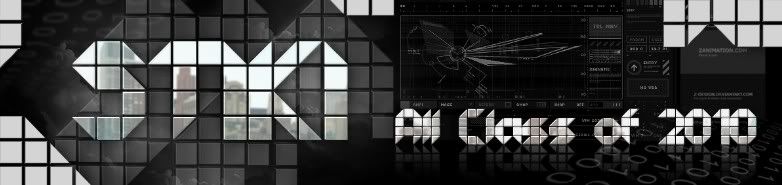
The final result:

Step 1:
Here I start to create a new document sized 1200X291Pixels canvas set at 72dpi. I filled the background with black color.
Step 2:
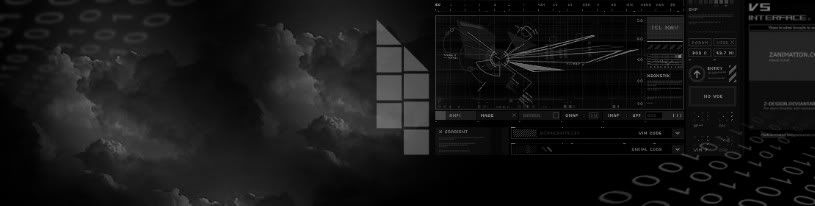
Create a new layer, name it ‘background1’. Paint some effects with 'Z-DESIGN Tech' brush and 'Cloud' brush, as shown the image below:

Step 3:
I add some text ‘0001110101010’, that’s the example of binary number but I don’t know the amount exactly :D, don’t thinking about it because this is not the time to learn binary number.
Go to Layer > Smart Object > Convert to Smart Object, press Ctrl+T on your keyboard, right click and choose ‘Perspective’. Adjust the text less as shown below:
Step 4:
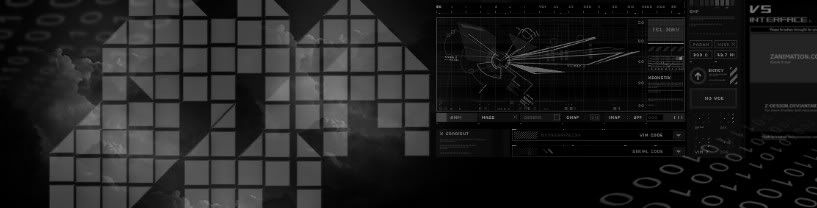
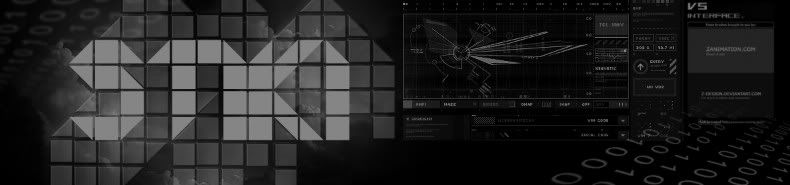
It’s time to use ‘Half Project Logo’ font style. Create a New Group name it ‘Background2’, in the group I create a text ‘I’ white color with 30% Opacity level, then convert it to smart object.
Duplicate the text into several text, adjust them so that will look like a box structures.
Merge the ‘Background2’ group into one layer.
Step 5:
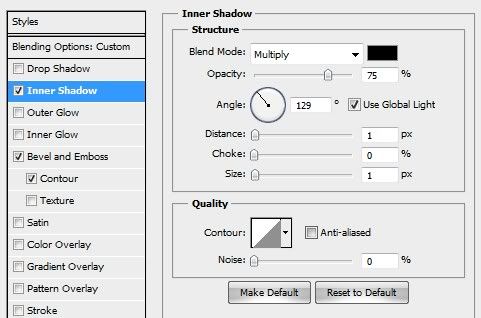
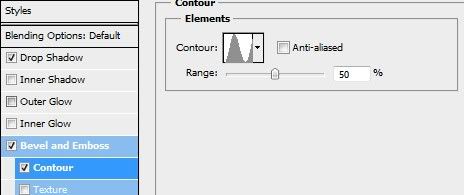
Double click on ‘Background2’ Layer to open Layer Style. Follow these setting:
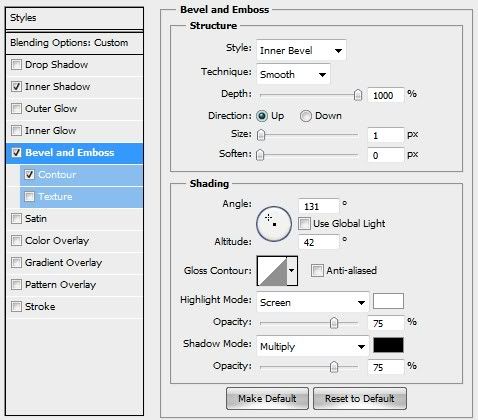
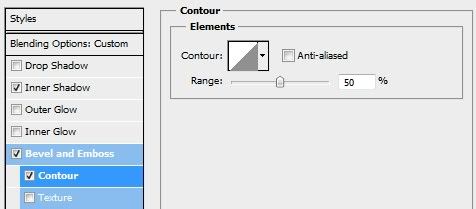

Step 6:
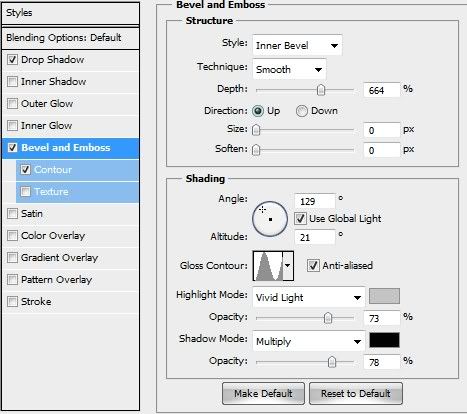
Create a text ‘STIKI’, gray color #858585 and 100% opacity level. Scale and position it match the ‘Background2’.
Double Click on the text layer to open Layer Style:


Step 7:
Lets add a reflection to the surface of the ‘STIKI’. To do this grab an image of, well, just about anything. I used a NYC Stock by SocioBunneh
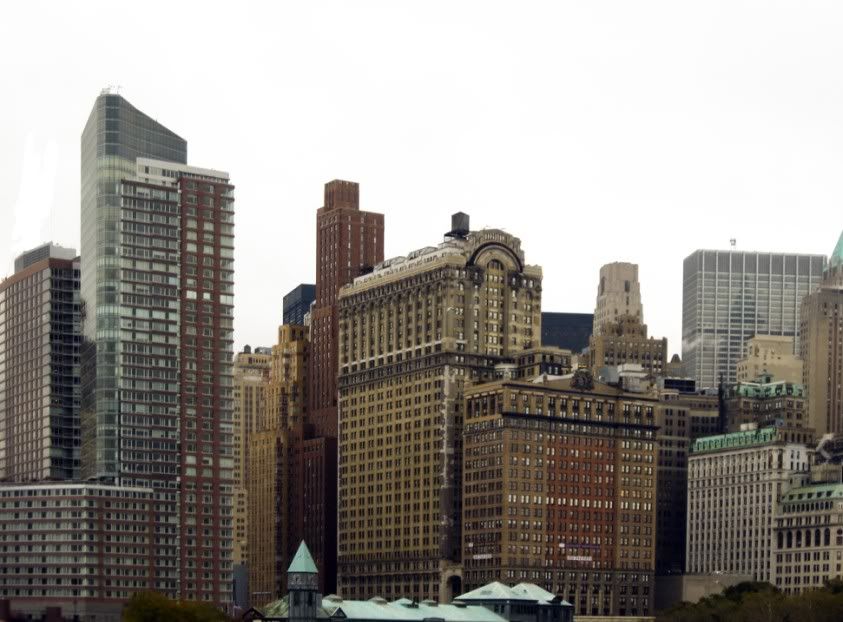
apply the image to a new layer above the ‘STIKI’, add a heavy Gaussian Blur by going to Filter > Blur > Gaussian Blur..., Hold down Ctrl then click on the ‘STIKI’ layer to load the selection, then go to Select > Invers and delete the portion of the image that extends beyond the ‘STIKI’. Then change the reflection image blending mode to Overlay.

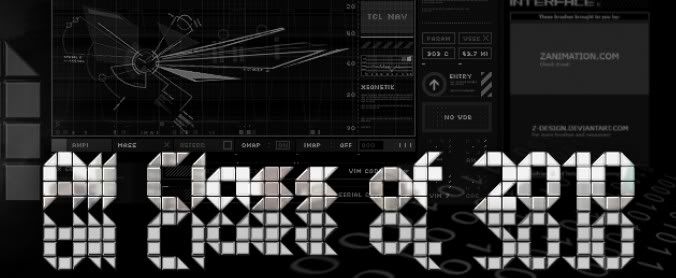
Step 8:
I add a text again ‘All Class of 2010’ and it will be the last one of this banner. Convert it to smart object, copy the Layer Style of ‘STIKI’. Repeat the Step 7, so I don’t need to explain it again.

Duplicate the ‘All Class of 2010’ layer, press Ctrl+T to show transform controls, Right Click > Flip Vertical and scroll it down a little bit in order to make both sides are touching each other.
Now you need to make a reflection effect on the ground. To perform this, I use Eraser Tool with size: 100px hardness: 0% and remove the half part of the text.
You can also add some box structures as I’ve explained before at the step 4.
Step 9:
Add a new layer above the other layers and crate the first light effects using a big soft brush (I used a 250px soft brush with light blue color #00aeef).
Set the blend mode of this layer to Soft Light and paint a few colored lights.

Step 10:
Add a new Layer with 50% opacity level and set the blend mode to Screen. By using soft round brush 150px, I paint some highlights.
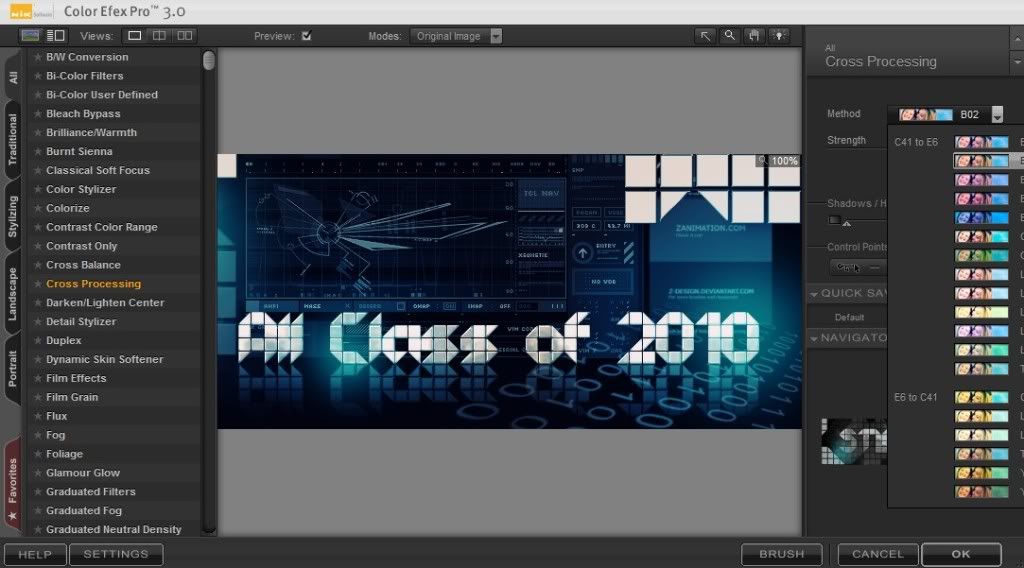
For the final touch I usually use Color Efex Pro, it provides the most comprehensive set of enhancements for color correction, retouching, and creative effects.
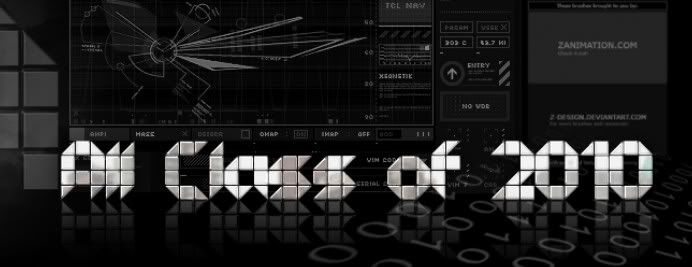
Final Result:
Hope you enjoyed. Please share this tutorial if you liked it.


0 komentar:
Post a Comment